Overview
Olympus is entirely free to download, install and use as you see fit, from blogs to personal portfolios and mid to large business websites, multisite compatible, and WooCommerce ready.
The theme is made available through the WordPress Themes Directory for everyone, making it a breeze to install, update, and run it in your WordPress installation, be it single or multisite, or even on localhost.
Installation
You may install Olympus using the standard procedure, as you would do with any other WordPress theme.
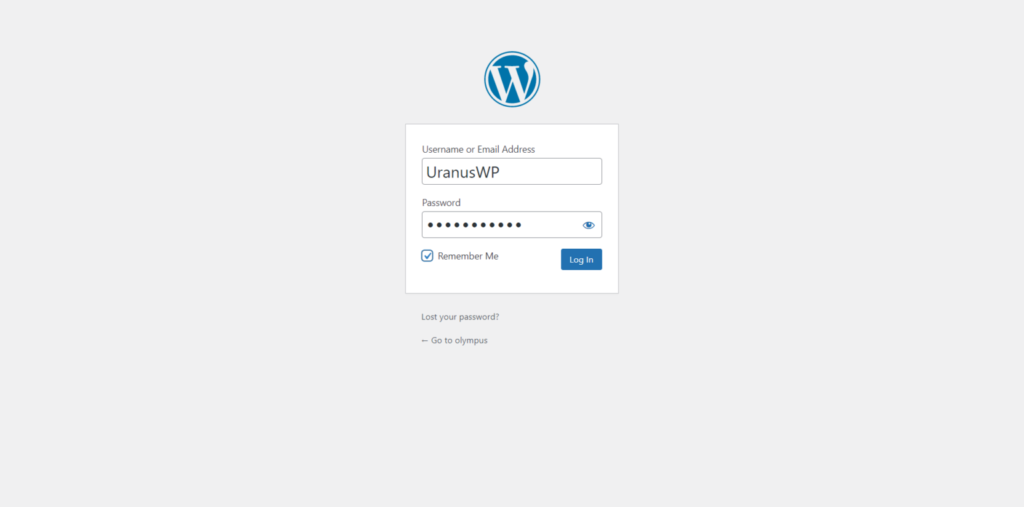
Please login to your current WordPress installation, as you would usually do, fill in your login details and, depending on your preference, opt or not to Remember Me. This will keep your session active and ease the login process for the next time you wish to access your backend.
Once you login, it will open the WordPress default dashboard unless you have a redirect to any other WordPress page or are using a custom WordPress dashboard; below is how it should display.
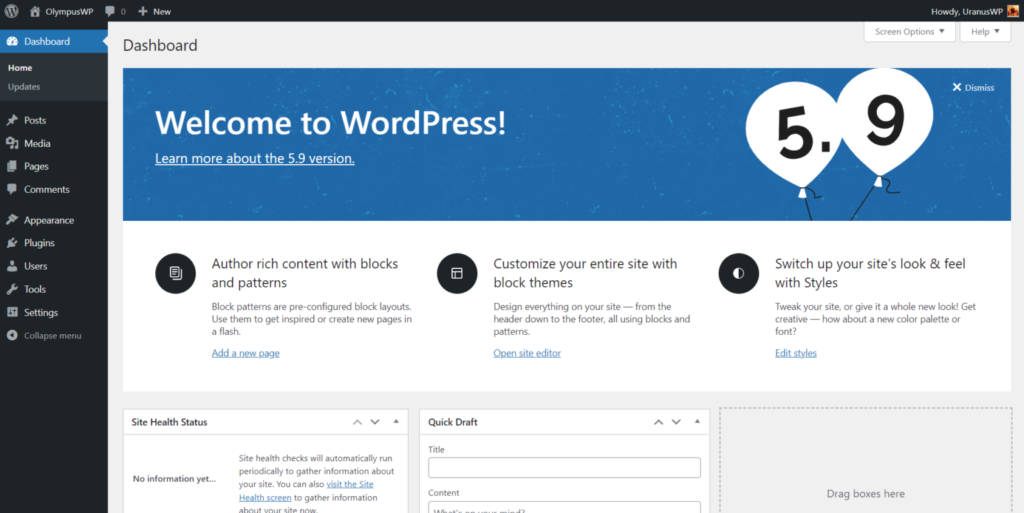
Once you see the dashboard, please click on the navigation sidebar where it reads Appearance, followed by Themes. This will open the themes you have installed by default using a fresh WordPress installation.
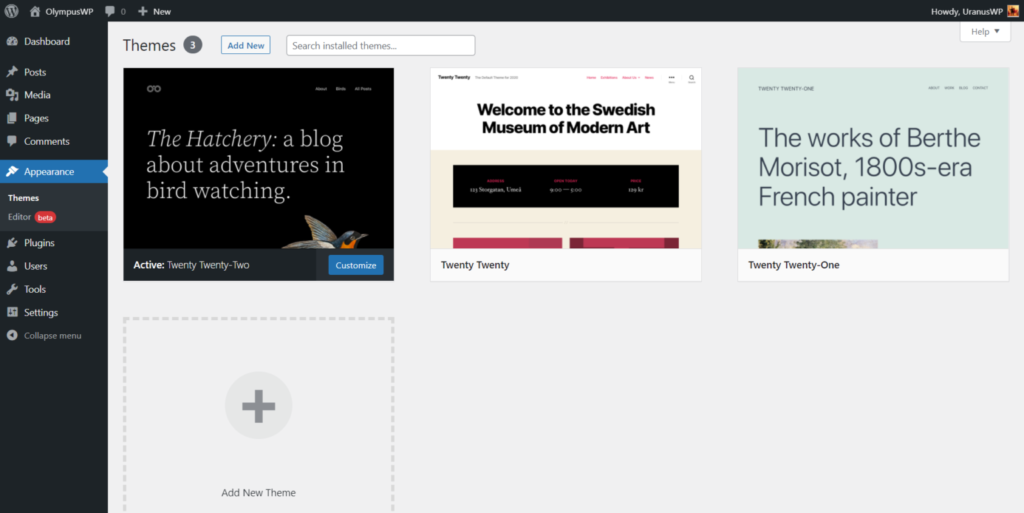
Please, click on the upper button that reads Add New, and it will open the WordPress themes directory, displaying the themes you already have installed with a notice.
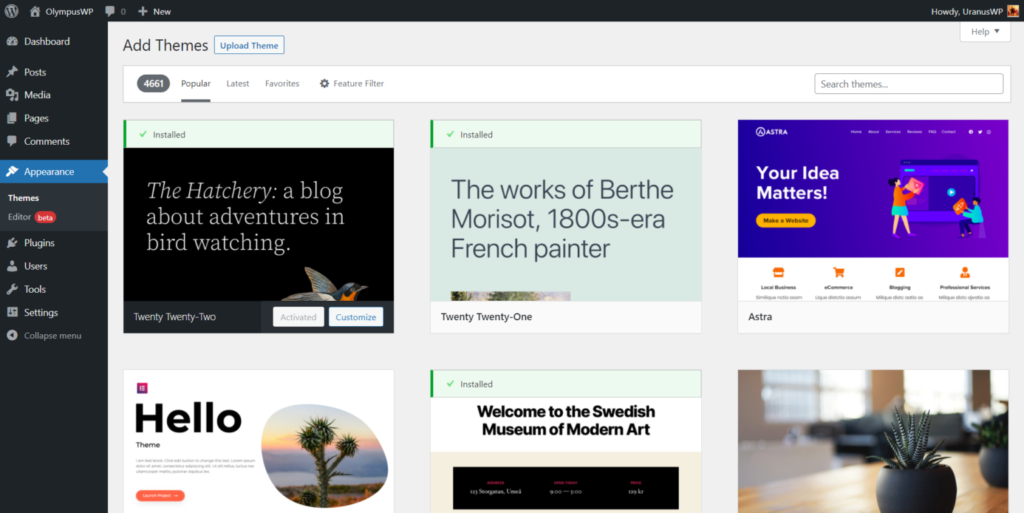
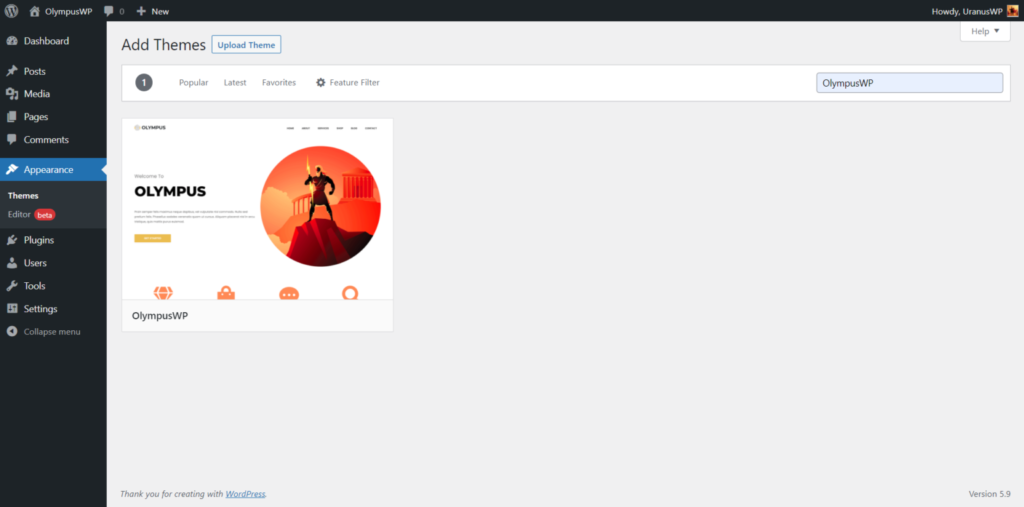
On the upper right side of the screen, there is a form field that reads Search themes…. Please enter Olympus. This will make the dashboard search and find for our Olympus theme ready to install.
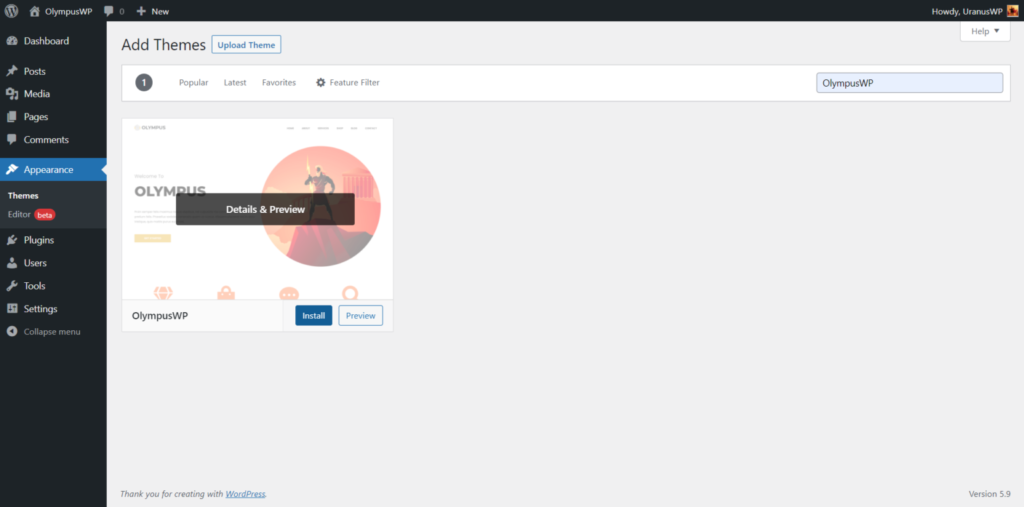
Once you mouse over the theme’s thumbnail, it will display two buttons to either Install or Preview the theme. Please click the Install button to proceed to installation.
NOTE: If you want to keep your installation less confusing and cleaner, you may consider removing the additional themes installed by default to avoid update notifications and have the Themes page focused only on what you use.
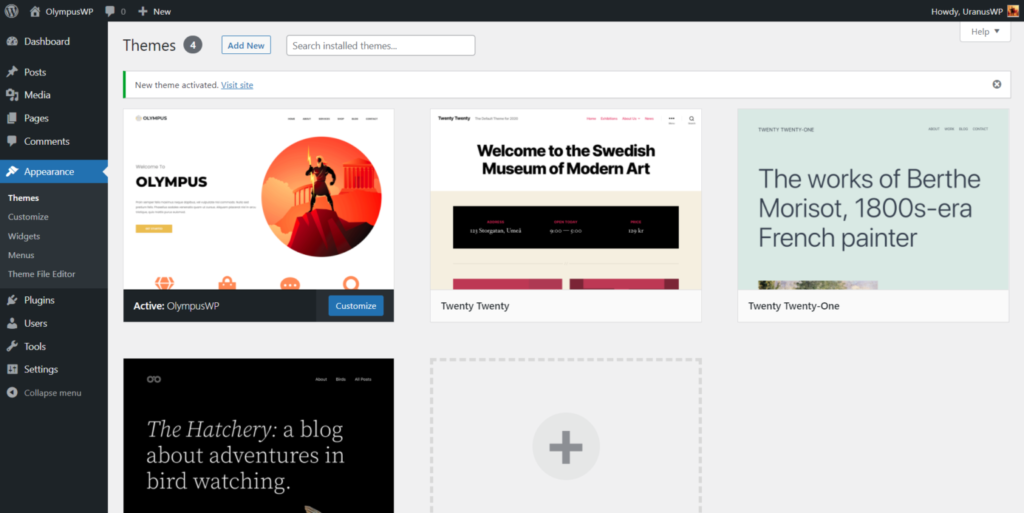
Once the installation is completed, it will show the Installed notice.
Proceed to click on the button that reads Activate. This, in turn, will set Olympus as the default theme on your installation.
NOTE: If you plan to extend the functionality of our theme by adding custom code, JS or CSS, we strongly recommend you install our Child Theme alongside our theme.
Once Olympus is installed and set by default, you can explore it by opening the Customizer, and beginning to set your default typography, colors, padding, and personalize the theme according to your specific needs.
There are two ways to load the Customizer, as you can either opt by going to Appearance > Customize, or if you are currently working on a Post or Page using the frontend, click on the admin bar where it reads Customize.
Either way opted to load the Customizer, the result will be the same. However, it all depends on your method and how you feel comfortable with it.